Nothing quite beats the crispy, juicy delight of Raising Cane’s chicken tenders on a casual weekend night, and I’ll admit, they’ve been a favorite in my house for years. I remember the first time I tried recreating that iconic tender at home—it was a game-changer. The way the seasoned coating crackled with every bite, paired with that tangy sauce, had my friends asking for the recipe (which, lucky for you, I’m sharing right now!). Whether you’re feeding a hungry family or craving a finger-licking snack, these tenders always deliver.
Why This Recipe Shines
- Flavor Harmony: The buttermilk marinade tenderizes the chicken while infusing a subtle tang, perfectly complemented by the seasoned flour crust.
- Easy Assembly: Simple ingredients with straightforward steps make this copycat recipe a no-fuss winner—even if you’re a beginner.
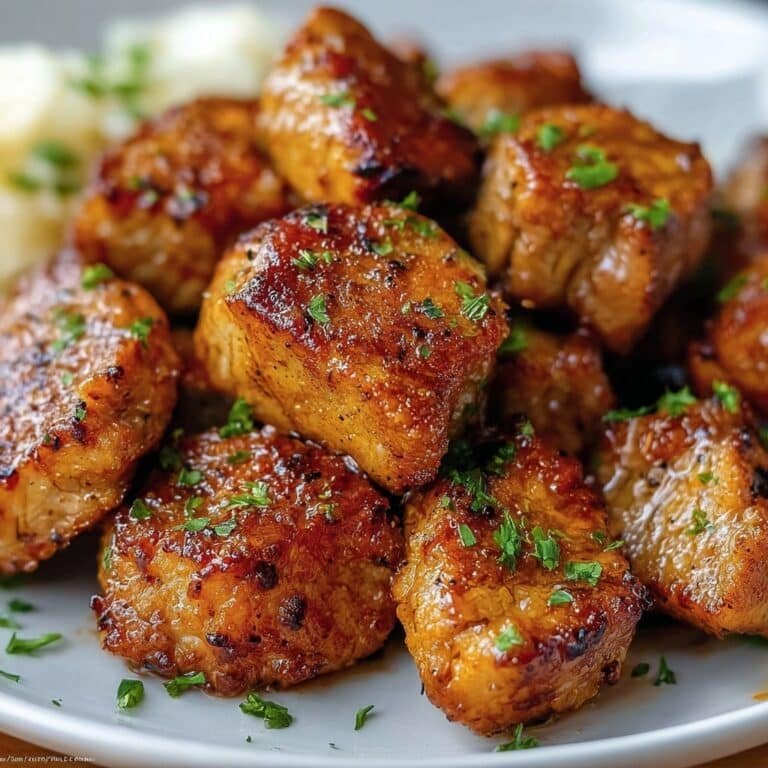
- Texture Play: Enjoy that perfect contrast of a crispy exterior with juicy, tender meat inside every single time.
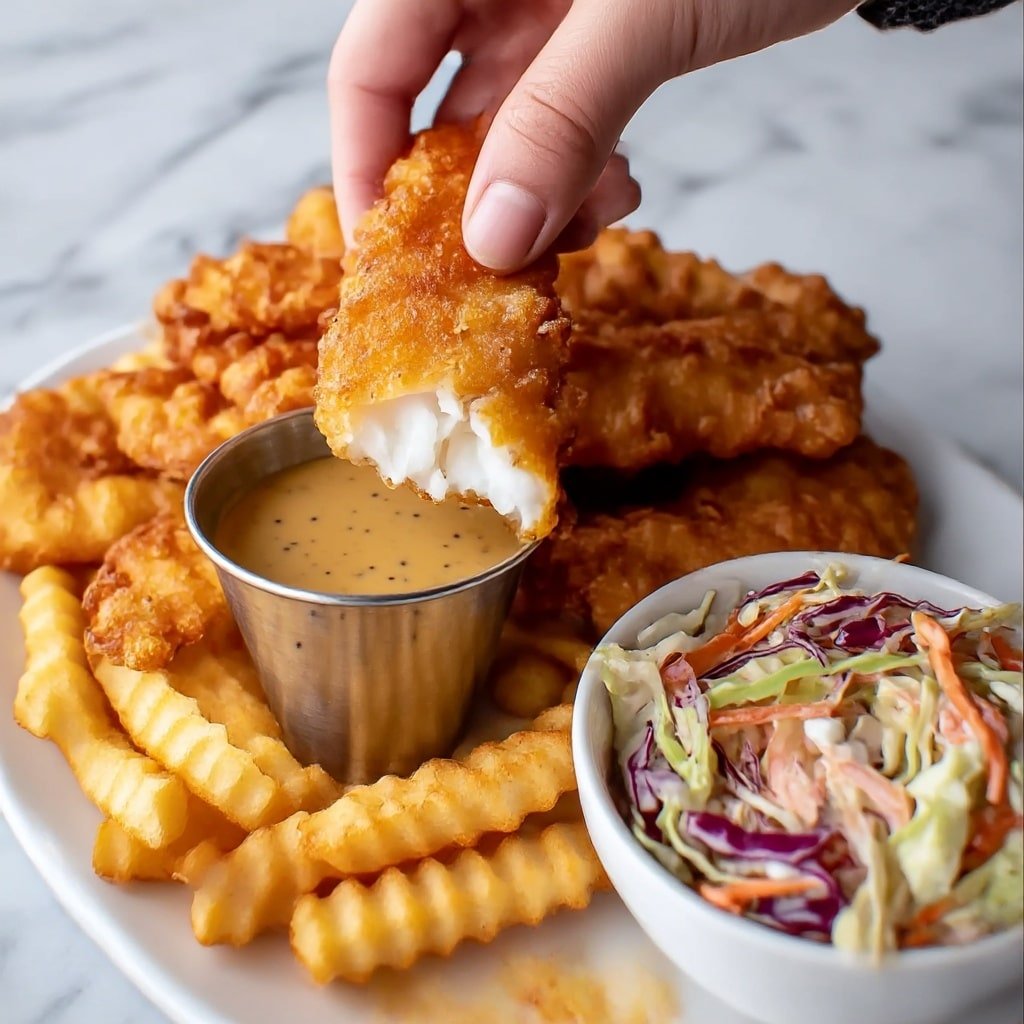
- Showstopper Finish: Paired with a homemade Cane’s-style dipping sauce, it recreates that irresistible takeout experience at home.
The cool thing about this Raising Cane’s Chicken Tenders Copycat Recipe is how approachable it is. You don’t need fancy equipment or secret ingredients—just the basics and a bit of patience for that marinade to work its magic. I’ll walk you through each step in detail so you can serve up restaurant-quality tenders, crispy and golden, right in your own kitchen. Trust me, once you try this, you’ll want to make it a go-to meal.
Ingredients You’ll Be Working With
Measuring ingredients carefully will really make a difference here, especially for the coating and marinade components. Don’t worry — exact amounts and full details live in the printable recipe card at the bottom for handy reference.
- Chicken tenders: The star of the show—choose fresh, uniform strips for even cooking.
- Buttermilk: Tenderizes the chicken and adds a subtle tang; you can substitute with milk plus lemon juice if needed.
- Egg: Helps the marinade adhere and adds richness.
- Garlic powder: Adds depth and savory notes both in the marinade and coating.
- Kosher salt: Essential for seasoning and balancing flavors; sea salt works fine in a pinch.
- Black pepper: A mild kick that complements the other spices.
- All-purpose flour: Forms the crispy crust; spoon and level for accuracy.
- Cornstarch: Key for extra crispiness in the crust.
- Onion powder: Adds mellow aromatic layers in the coating and sauce.
- Paprika and smoked paprika: Give color and subtle smoky warmth.
- Mayonnaise: The creamy base of the signature Cane’s dipping sauce.
- Ketchup: Brings tang and sweetness to the sauce’s balance.
- Worcestershire sauce: Adds umami depth to the dipping sauce.
If you need to swap a few things out, no problem—dairy-free milk with vinegar can replace buttermilk, and low-sodium or gluten-free flours can work well here, just be mindful they might slightly alter texture or flavor.
Chef’s Note
You’ll find the complete list of ingredients with exact measurements in the printable recipe card at the bottom of this post.
Tools You’ll Need
- Large mixing bowls: For marinading chicken and mixing the coating with easy tossing.
- Heavy-duty skillet or deep frying pan: Holds the oil steady for even frying without temperature drops.
- Cooking thermometer: Absolutely essential to keep oil at 350ºF for perfect crispiness and safe cooking.
- Slotted spoon or tongs: To handle the hot tenders safely and drain excess oil.
- Wire rack or paper towels: For draining fried tenders to keep them crispy, not soggy.
- Small bowl and whisk: For mixing up the signature Cane’s-style dipping sauce easily.
How to Make Raising Cane’s Chicken Tenders Copycat Recipe
Ready to dive in? This recipe is all about layering flavor and texture, so let’s take it step-by-step to nail that perfect Raising Cane’s chicken tender experience.
- Marinate the Chicken: Whisk together the buttermilk, egg, garlic powder, kosher salt, and black pepper in a large bowl until smooth. Add the chicken tenders and toss to coat well. Cover and refrigerate for at least 30 minutes—overnight is even better for juicy, tender bites.
- Prepare the Coating: In a shallow bowl, mix all-purpose flour, cornstarch, garlic powder, onion powder, paprika, and salt so the seasoning is fully blended. This mix gives your tenders that signature crispy crust.
- Coat the Chicken: Remove tenders one at a time from the marinade, letting excess drip off. Dredge thoroughly in the flour mixture, pressing the flour onto every side for even coverage. Place coated tenders on a plate ready for frying.
- Heat the Oil: Pour 2 to 3 inches of vegetable oil into your skillet and heat to 350ºF (175ºC). Use your thermometer to keep the temperature steady—this is critical to avoid greasy tenders.
- Fry the Tenders: Carefully add chicken to the hot oil in batches, making sure not to overcrowd. Fry for 5 to 7 minutes, turning occasionally until the outside is deeply golden and crisp. Use a thermometer to check the internal temperature reaches 165ºF (74ºC) to ensure doneness.
- Drain and Rest: Remove tenders with a slotted spoon and place on a wire rack or paper towels to drain excess oil so they stay crispy. Serve immediately for best texture.
- Make the Cane’s Sauce: While chicken cooks, whisk together mayonnaise, ketchup, Worcestershire sauce, garlic powder, onion powder, smoked paprika, salt, and pepper in a small bowl. Chill until ready to dip and enjoy.
Kitchen Wisdom
- Tip 1: Maintain your oil temperature around 350ºF to achieve a perfectly crispy crust without greasy tenders.
- Tip 2: Don’t rush the marinade—30 minutes softens the chicken, but overnight is magic for flavor and tenderness.
- Tip 3: Let the coating press onto the chicken firmly to avoid losing the crispy crust in the oil.
- Tip 4: Use a wire rack for draining fried tenders; it prevents soggy bottoms and keeps them crisp longer.
How to Serve
Flavor Boosters
If you like to kick things up a notch, consider sprinkling some freshly cracked black pepper or a pinch of cayenne over the tenders for a subtle heat. A squeeze of fresh lemon juice on top can also brighten the flavor, giving that little something extra. The star, of course, is the creamy Cane’s-style dipping sauce—don’t skip it!
Perfect Pairings
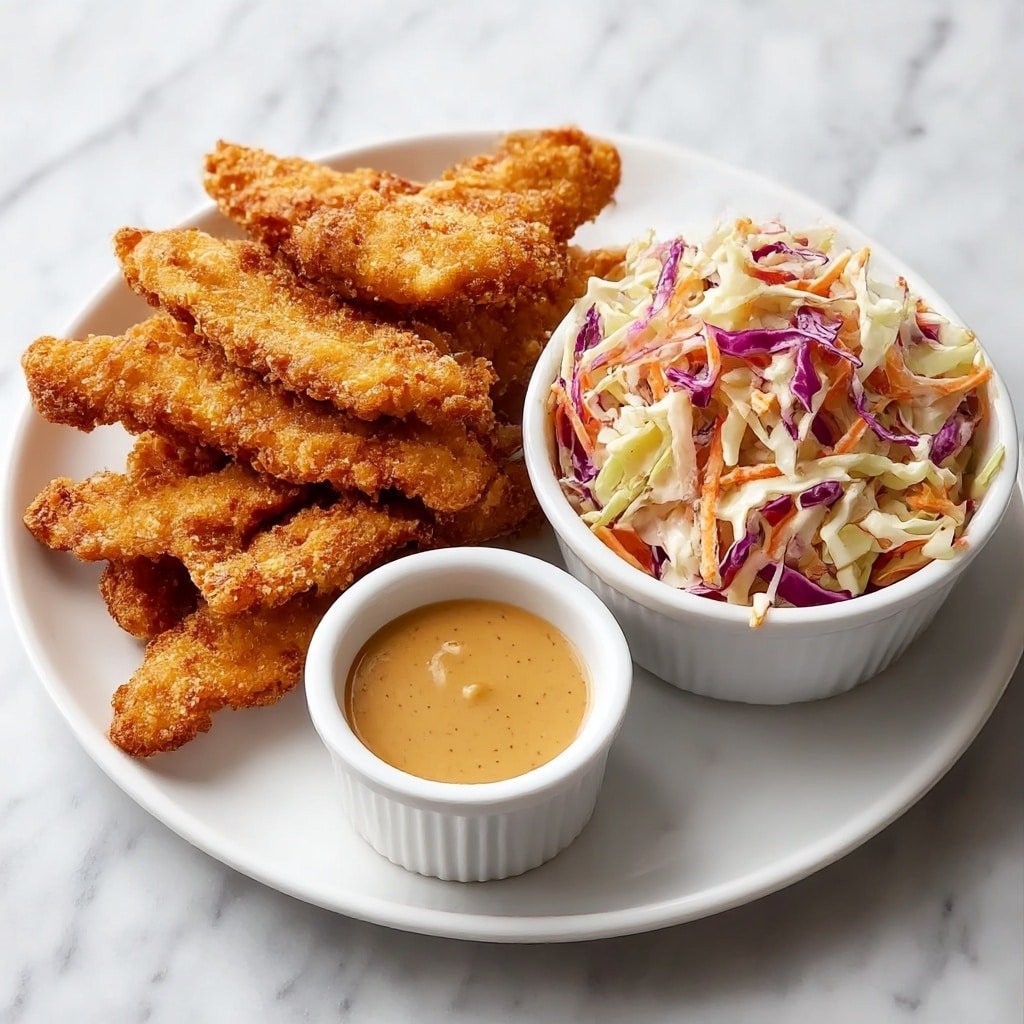
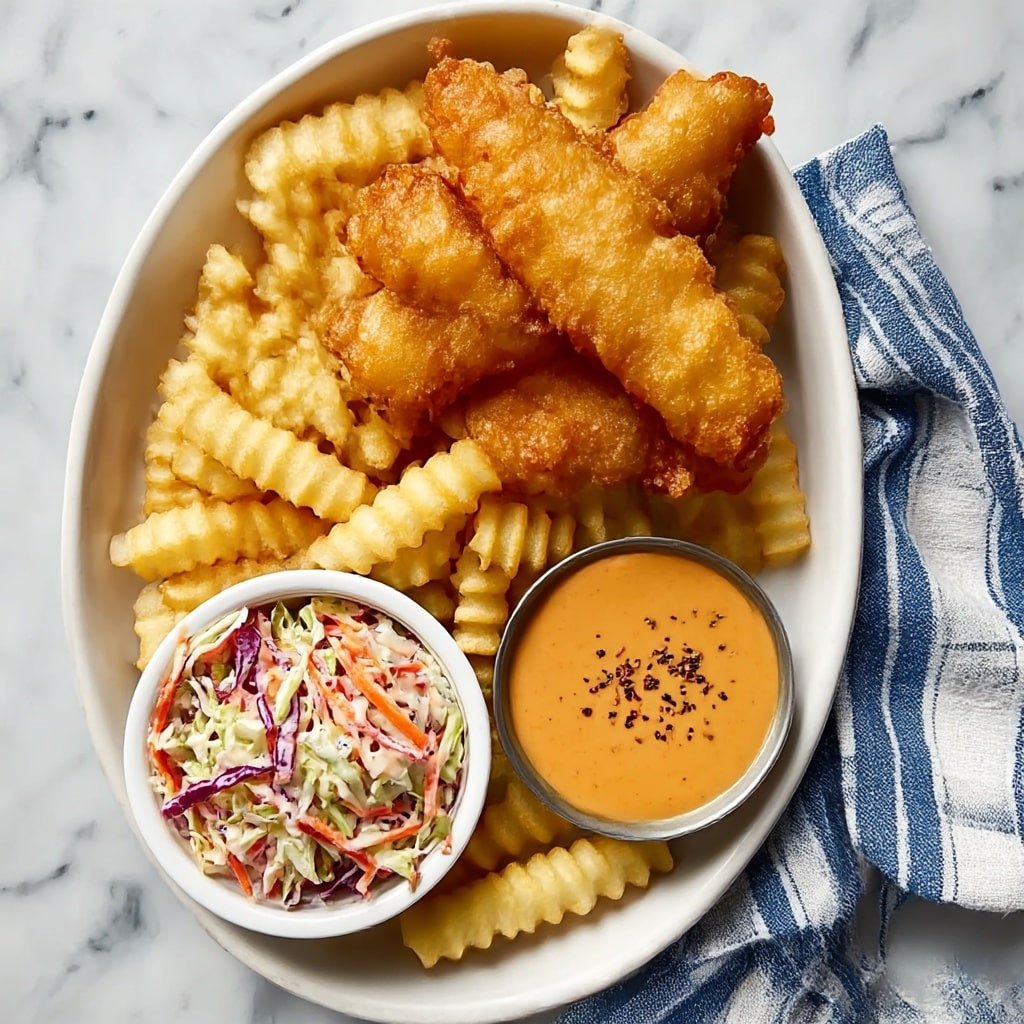
Raising Cane’s chicken tenders shine with classic sides like crispy fries or crunchy coleslaw, balancing the richness. For drinks, a cold soda or iced tea complements the savory and tangy flavors perfectly. If you want to go lighter, a fresh green salad or roasted veggies make a great match without overpowering the main event.
Presentation Touches
Arrange tenders on a rustic wooden board with small dipping bowls of Cane’s sauce for an inviting, shareable platter. For parties, serve them in individual paper-lined baskets for that authentic fast-food vibe. Garnish with chopped parsley or a lemon wedge for color and freshness. They’re also fantastic wrapped up for packed lunches or picnics.
Variations & Easy Swaps
- Dairy-free: Substitute buttermilk with almond or oat milk plus a splash of lemon juice.
- Spice it up: Add a pinch of cayenne or chili powder to the flour coating for a spicy kick.
- Oven-baked option: Bake coated tenders at 425ºF on a wire rack for 20-25 mins, flipping halfway.
- Gluten-free: Use a blend of gluten-free flour and cornstarch for the coating.
- Herb infusion: Add dried thyme or oregano to the marinade for herbal notes.
Make-Ahead, Storage & Reheating
- Make ahead: Marinate chicken up to 24 hours before frying to save time on cooking day.
- Storage: Keep cooked tenders in an airtight container in the fridge for up to 3 days.
- Reheat: Re-crisp tenders in a hot oven (400ºF for 8-10 mins) or air fryer; avoid microwaving which makes them soggy.
- Sauce storage: Cane’s dipping sauce keeps well refrigerated for 3-4 days in a sealed jar.
FAQs
- Can I use chicken breasts instead of tenders? Yes! Slice chicken breasts into strips similar in size to tenders for even cooking.
- What if I don’t have buttermilk? Mix 1 tablespoon of lemon juice or vinegar with 1 cup of milk; let sit for 5 minutes before using.
- How do I know when the chicken is done? Always check with a meat thermometer—the internal temperature should reach 165ºF.
- Can I make the Cane’s sauce ahead? Absolutely—prep it up to 3 days in advance and keep refrigerated for best flavor.
- Is deep frying necessary? For that classic crunchy texture, frying is ideal, but baking or air frying can be tasty alternatives with slight texture differences.
Raising Cane’s Chicken Tenders Copycat Recipe

Enjoy the crispy, juicy goodness of Raising Cane’s style chicken tenders made with a flavorful buttermilk marinade and a perfectly seasoned flour coating. Served with a tangy homemade Cane’s-style dipping sauce, this recipe delivers that iconic tender taste right in your kitchen using deep frying for ultimate crispiness.
- Prep Time: 20 minutes
- Cook Time: 10 minutes
- Total Time: 60 minutes
- Yield: 4 servings
- Category: Main Course
- Method: Frying
- Cuisine: American
Ingredients
For the Chicken Marinade
- 2 pounds chicken tenders
- 1.5 cups buttermilk
- 1 egg
- 1 Tbsp garlic powder
- 1 Tbsp kosher salt
- 1 teaspoon black pepper
For the Coating
- 2 cups all-purpose flour
- ½ cup cornstarch
- 1 teaspoon garlic powder
- 1 teaspoon onion powder
- 1 teaspoon paprika
- 1 teaspoon salt
For the Cane’s Sauce
- ½ cup mayonnaise
- 3 Tbsp ketchup
- 1 Tbsp Worcestershire sauce
- ½ teaspoon garlic powder
- ½ teaspoon onion powder
- ½ teaspoon smoked paprika
- ½ teaspoon salt
- ½ teaspoon black pepper
Instructions
- Marinate the Chicken: In a large bowl, whisk together the buttermilk, egg, garlic powder, kosher salt, and black pepper until fully combined. Add the chicken tenders to the marinade, tossing to coat evenly. Cover the bowl and refrigerate for at least 30 minutes or overnight for the best flavor and tenderness.
- Prepare the Coating: In a shallow bowl, whisk together the all-purpose flour, cornstarch, garlic powder, onion powder, paprika, and salt. This seasoned flour mixture will give your chicken that signature crispy crust.
- Coat the Chicken: Remove each chicken tender from the marinade, allowing excess liquid to drip off. Dredge each piece thoroughly in the flour mixture, pressing the coating onto the surface to ensure every side is well coated. Set aside on a plate.
- Heat the Oil: In a deep heavy-duty skillet or frying pan, pour 2-3 inches of vegetable oil and heat it to about 350ºF (175ºC). Use a thermometer to maintain an accurate temperature for perfect frying.
- Fry the Tenders: Carefully add the coated chicken tenders in batches to the hot oil, being careful not to overcrowd the pan to preserve the oil temperature. Fry them for 5-7 minutes, turning occasionally until they are golden brown, crispy, and cooked through with an internal temperature of 165ºF (74ºC).
- Drain and Serve: Remove the cooked chicken tenders with a slotted spoon and place on a wire rack or paper towels to drain excess oil. Serve immediately with the homemade Cane’s dipping sauce and your favorite coleslaw for a complete meal.
- Make the Cane’s Sauce: While the chicken marinates or fries, combine mayonnaise, ketchup, Worcestershire sauce, garlic powder, onion powder, smoked paprika, salt, and black pepper in a small bowl. Stir until smooth and refrigerate until ready to serve.
Notes
- The chicken tenders are crispiest right after frying but can be stored in an airtight container in the fridge for up to 3 days.
- Reheat leftovers in a pan on the stove, in the oven, or in an air fryer to retain crispiness; avoid microwaving to prevent sogginess.
- Maintain oil temperature around 350ºF for even cooking and to avoid greasy tenders.
- Marinating overnight enhances flavor and tenderness but 30 minutes will still produce delicious results.